My intonation as a violinist significantly improved once I understood how to block my left hand. As a pianist, I had strong, independent fingers and a keen ear for picking up a melody, but my intonation was very hit-or-miss. My teacher had me work on many etudes and exercises that emphasized leaving fingers down whenever possible and using the fingers already placed to guide the next note's placement. My second and third fingers were the biggest culprits. Once I understood how to set my fingers within my hand's natural framework, my muscle memory and intonation improved markedly.
Unlike the piano keyboard, the violin fingerboard is not exact. That is why we often use tapes or other markers to guide our beginning students as they begin to play notes with the left hand. My favorite tool for marking the fingerboard is First Frets. I like that it comes as a complete unit that can be attached and later removed. I color-code my students' music and assignments to match the tapes' colors, which are laid out in the pattern that most beginning method books start with: whole step-whole step-half step-whole step, known as a major tetrachord. However, problems begin to arise pretty quickly in the repertoire when students need to play a low second finger, for C-, F-, or G-natural.
For this reason, while I like to use the First Frets tool as an initial starting point, I also teach my beginners several left-hand finger patterns as soon as possible. Finger patterns enable the student to understand how the second and third fingers can move between the first and fourth fingers to create different sonorities and play all the notes in the first position. Some teachers may prefer to mark only the first and fourth finger notes with fingerboard tapes to keep students from getting their hands "locked" in one particular pattern.
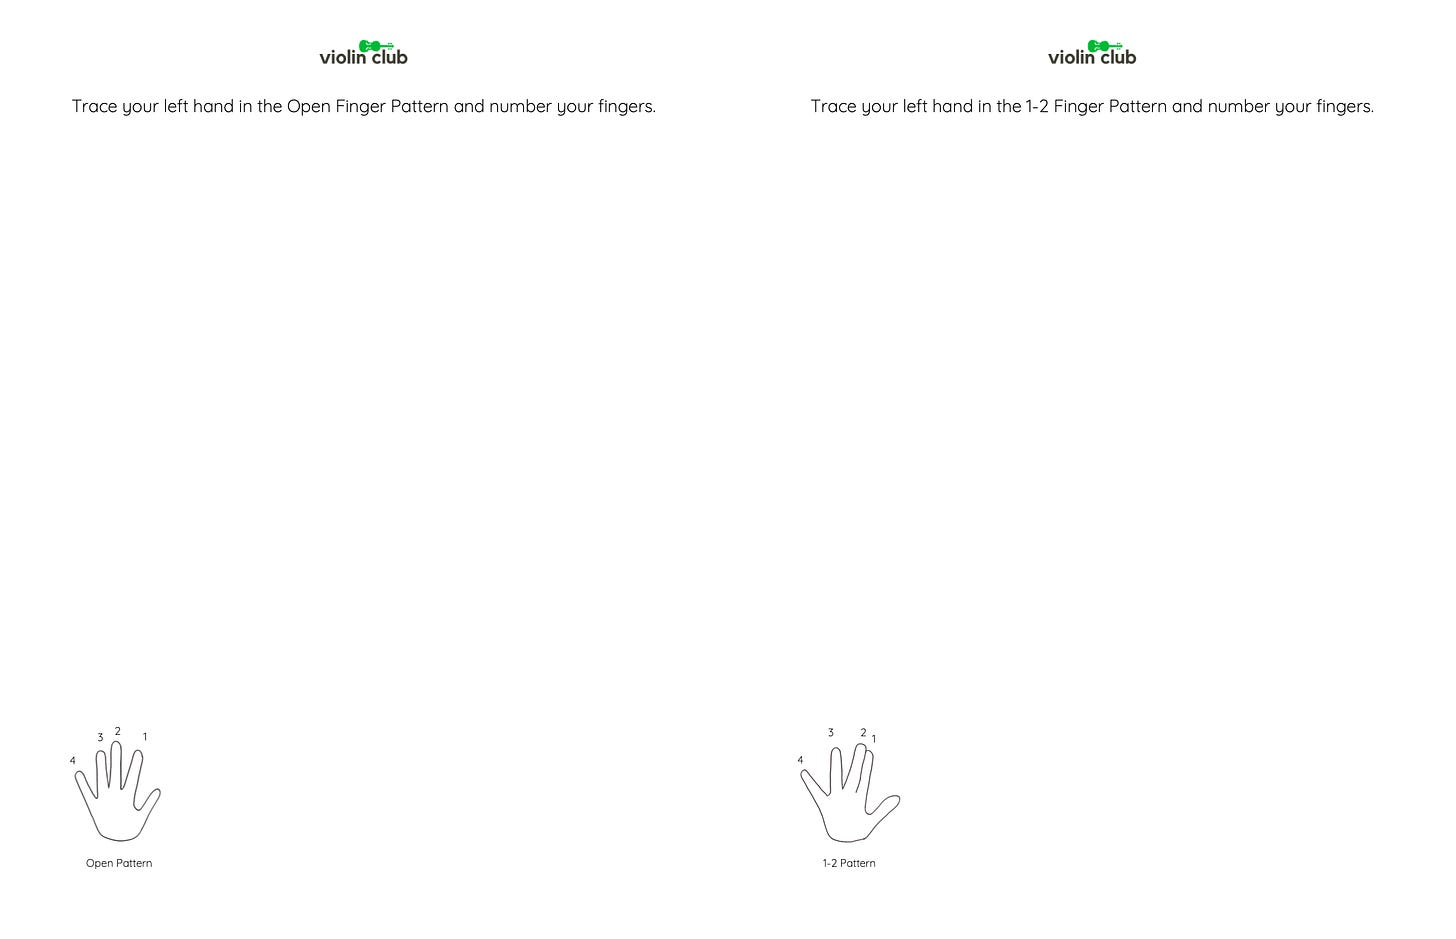
Barbara Barber's Fingerboard Geography has excellent exercises (and some colorful posters) that cover all the possible fingerboard patterns in multiple positions. For my beginners, I choose to teach the four most basic, and I name them after the fingers that are close together, forming a half step: Open, 1-2, 2-3, and 3-4 pattern. (See Orchestra Expressions Violin Book 1.)
In one of our first lessons, my beginners will learn these patterns and demonstrate them by holding both hands in the four combinations. Internalization of the beat can be reinforced by having students pulse their hands to recorded music and change patterns every eight, four, or even two counts. My young students practice tracing their hands on dry-erase lap boards or sheets of paper in the different formations and numbering their fingers one through four. You can download a copy of the handout I use here.
A tactile, kinesthetic reference to navigating the fingerboard is essential to a good position, intonation, left-hand technique, and muscle memory. Spend time on such basics now and enjoy tuneful, artful students in the future.
What left-hand exercises work well for your students? How do you teach fingerboard geography? Comment below, or join the conversation on Facebook, Instagram, or Twitter.


