Introducing Rhythm Reading
Why I teach rhythm first
Rhythm is everywhere in our lives: our speech, our movements, the steady pulse of our heartbeats. Without a steady beat and good rhythmic flow, music collapses into a mess of disorganized sound. Poorly performed rhythm derails a performance, no matter how beautiful the sound or perfect the pitch.
Rhythm is one of the first musical concepts I present to my students. Very young students will spend weeks learning to internalize a beat, repeat rhythmic patterns by rote, and associate sounds with printed notation. However, the average eight- to twelve-year-old beginning student (hopefully!) already knows how to read in their primary language and understands how to connect sounds with symbols. For students in this age bracket, I introduce rhythm reading the same way I learned it as a beginning piano student.
Starting with a rhythm-first approach will simplify the learning process for your students and allow them to concentrate on one concept at a time without the distraction and the added complication of the music staff. Teaching rhythm first, whether you teach your students music reading from the outset or use a Suzuki-based methodology and are ready to introduce music reading, will make your students stronger sight-readers and ensemble members.
Introducing Rhythmic Notation
I am indebted to the great piano pedagogue Mayron Cole for her simple, no-frills approach to teaching rhythm. I begin by showing the student(s) two flashcards: one with a pair of beamed eighth notes and the other with two quarter notes. I ask them if the cards are the same or different and how. I then explain that the two eighth notes are performed quickly and counted "1+ (one-and)" (or ti-ti if you prefer to use Kodaly syllables). I have the students practice clapping or playing sets of two eighth notes on rhythm instruments.
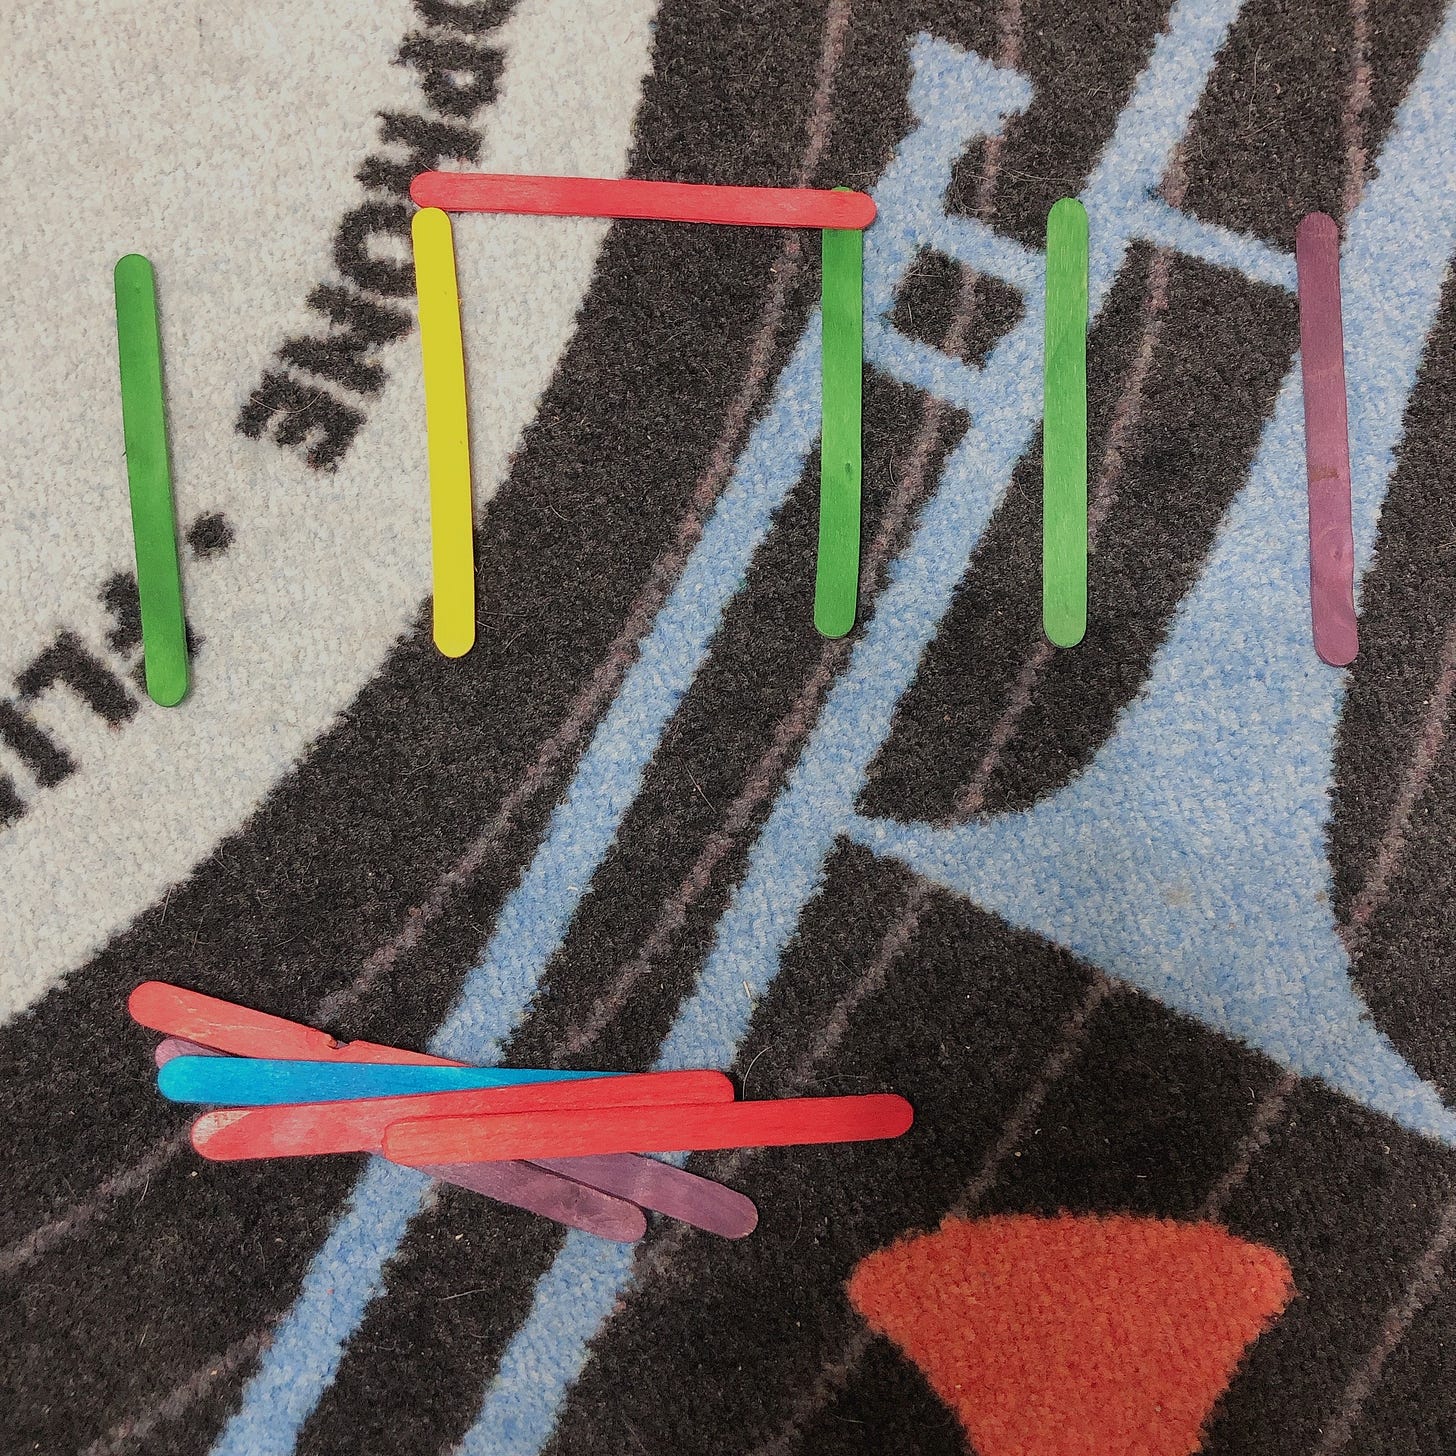
Then, I demonstrate the quarter notes as "one" or "ta," and we practice clapping or playing quarter notes on rhythm instruments on a steady beat along with recorded music. Students that have trouble differentiating the quarter and eighth notes usually do better using ta and ti-ti or "slow" and "play fast" instead of numbers. We practice clapping or playing many different combinations of quarter and eighth notes from flash cards. Students may also use popsicle sticks to create rhythm patterns, using one stick to represent quarter notes and joining two sticks with a third as a beam to represent the eighth notes.
Next, I introduce half notes and whole notes in the same manner by having students compare the two. When explaining longer note values, some students may want to clap two or four times instead of holding the note. I demonstrate that we clap on the first count and then pulse our hands forward in a "swimming" motion for the rest of the counts. Using "ta-a" and "ta-a-a-a" also help students to see that these notes last longer. Teach dotted half notes in the same way by having students find the difference between them and half notes.
Once students understand these five different note values, practice them in as many combinations and groupings as possible. Introduce rests and more complex rhythms as they appear in the repertoire. Use flashcards, draw rhythm patterns on a whiteboard, or use one of my favorite lesson tools, this magnetic heartbeat chart from Music Tools Lady.
In a group class?
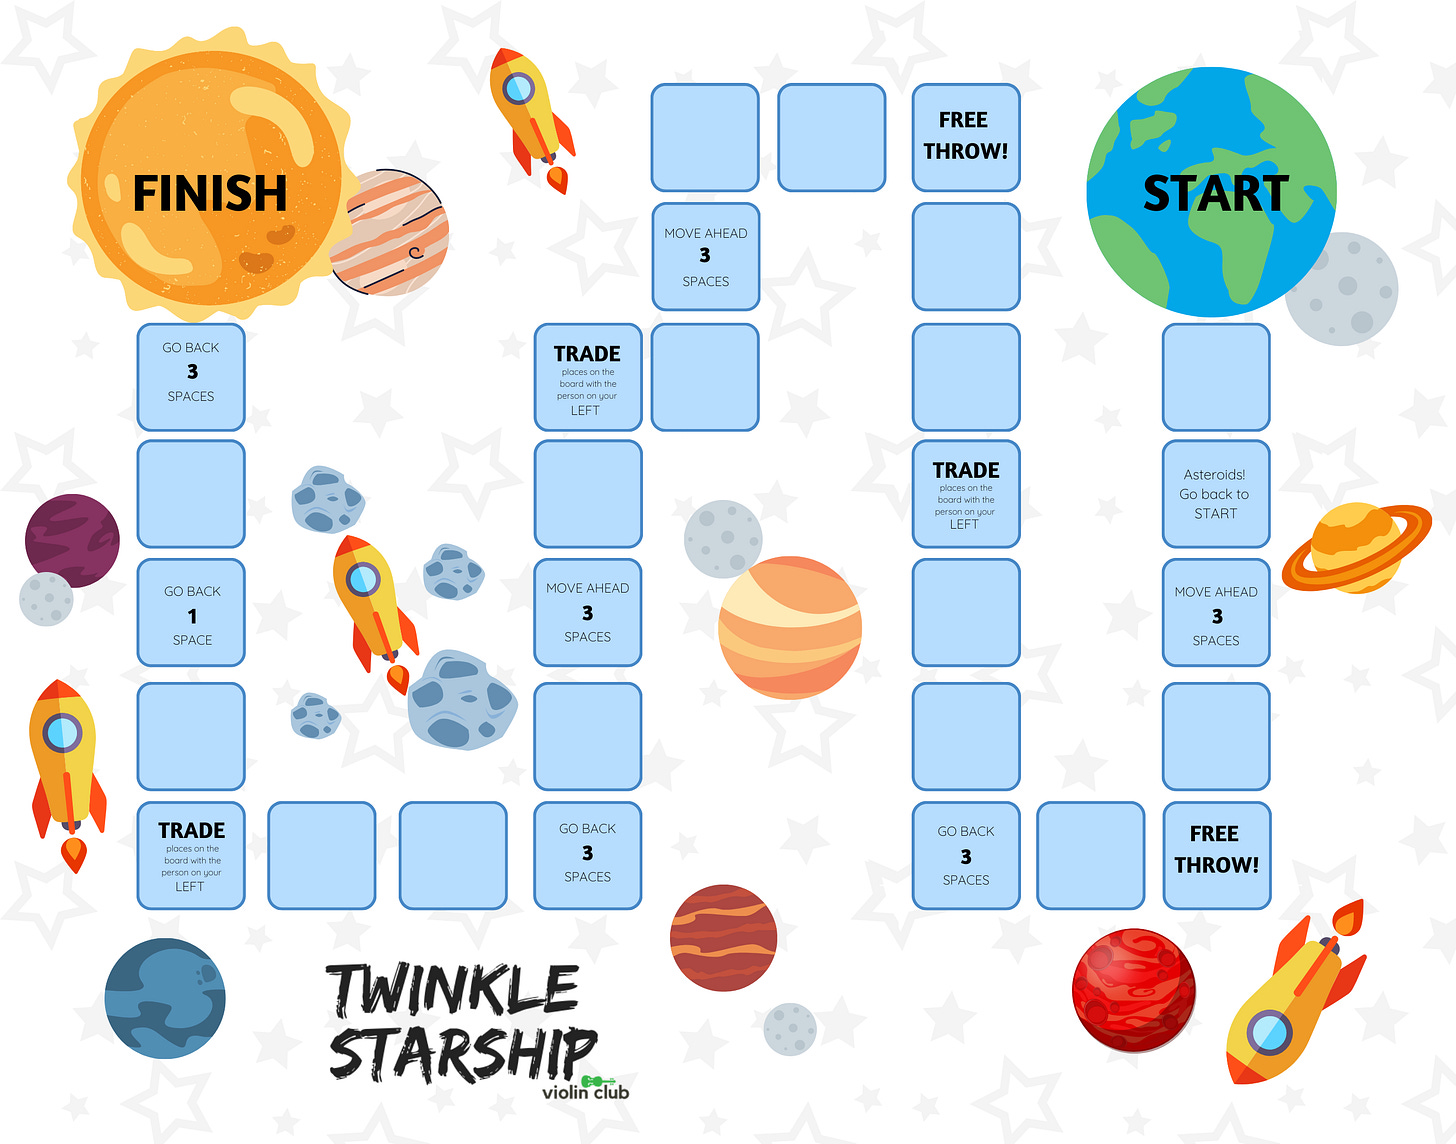
Another great strategy I learned from Mayron Cole was reinforcing concepts at game time. She has some free printable game mats you can use, or you can use a board game you already have, like Candyland or Chutes and Ladders, and have students clap or play a rhythm card to roll and advance on the board. I've also designed this violin-themed printable game board you can use for rhythm questions or any note reading, symbol recognition, or trivia question! You'll find printable rhythm flashcards to use with it below.
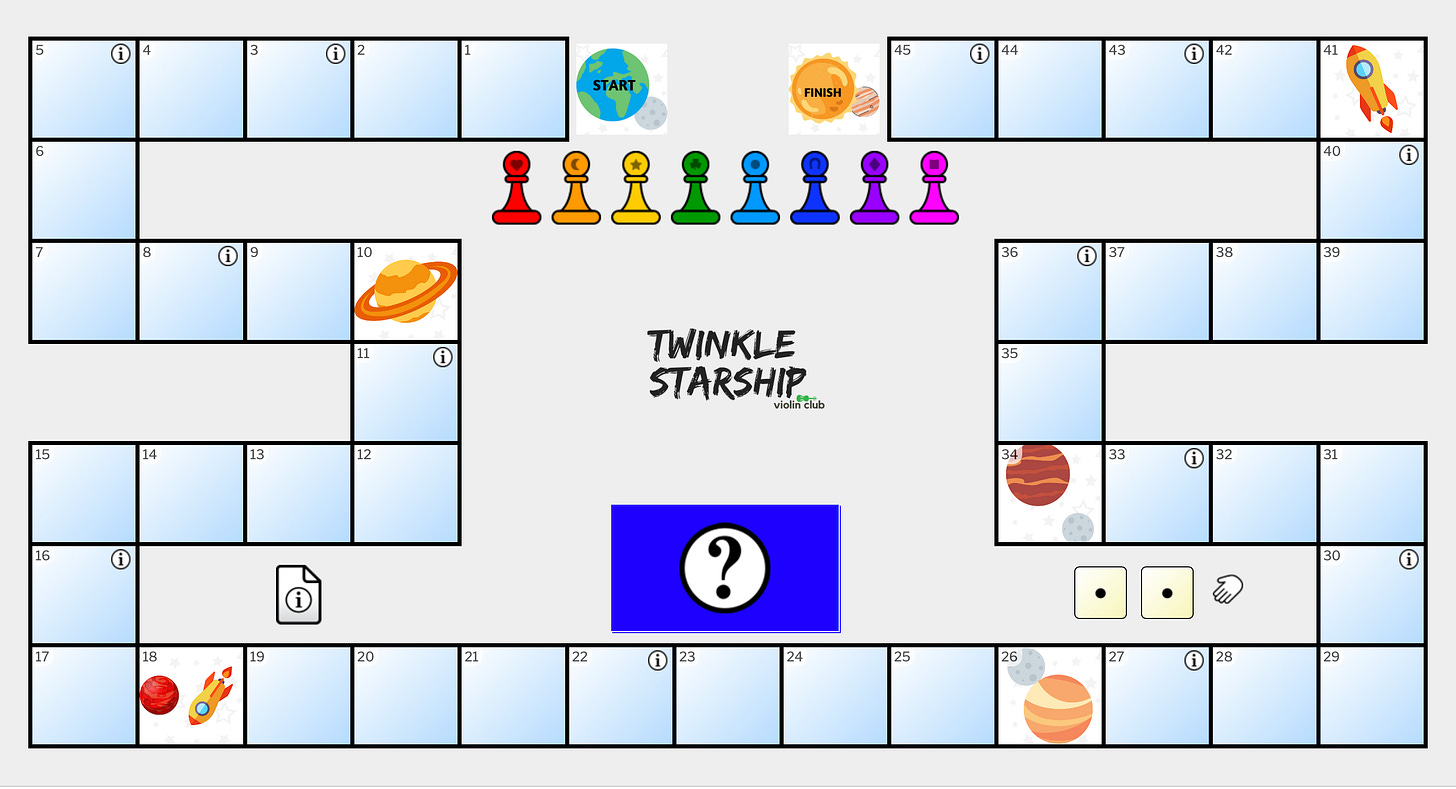
If you are teaching groups online, I've also created a Flippity version of the game board with a built-in rhythm question deck. Screen share the browser window with your class, ask a student a rhythm question, and roll and move your students around the board.
Private lesson?
Two of my favorite rhythm teaching apps are perfect for gamifiyng the learning process in a one-on-one lesson: Rhythm Swing and Rhythmic Village. These apps also work great in a 20-20-20 or rotating music lab setup.
Rhythm Swing introduces each note value one at a time, first with an interactive instructional video, then a practice mode, and finally a game mode. Students tap the rhythm on the screen and try not to get eaten! This game is excellent since it reinforces not only performing rhythms but keeping a steady beat.
Rhythmic Village takes students on a journey learning to play and read notes with Koday syllables. Students not only tap rhythms but also have to learn to identify rhythms performed. The app lets you save students' progress, allowing them to advance at their own pace through increasingly more complex patterns.
Playing Rhythms on the Instrument
Once students can identify and perform different rhythm patterns, they can transfer this knowledge to the violin. When first introducing rhythms, students can perform pieces in rhythmic notation on open strings. As they begin to learn left-hand pitches, add letters underneath rhythmic notation as a stepping stone before reading pitches on the staff.
Isolate rhythm work in the right hand by having students bow rhythmic patterns in the air, on the shoulder, or through toilet paper tubes with either a bow, pencil, or "practice bow." When students are ready to bow on the instrument, they can play rhythmic notation pieces on open strings before adding left-hand pitches.
My goal as a teacher is to make things as simple to understand as possible for my students. "Quick wins" allow students to feel confident as they progress through increasingly more complicated tasks. That is why I teach rhythm off the staff and have students begin working with pieces in rhythmic notation. I have written out many of the Suzuki pieces in rhythm-only notation for students to practice on open strings and add the letters of the pitches beneath the notes. The notes or letters can be color-coded to help students differentiate the notes on different strings. Once students are confident in playing rhythms and navigating the fingerboard, I introduce staff-note reading. I'll share more on staff note reading and teaching music theory to violin students in future posts.
How do you like to teach rhythm to your students? What apps or games do you use? Share in the comments below, or join the conversation on Facebook, Instagram, or Twitter.


