Shinichi Suzuki had many good reasons for having Twinkle Twinkle Little Star be the first piece to teach his students.
This simple melody teaches rhythm, bowing, string crossings, fingering, and good intonation. It’s an excellent start for beginners, even if you are unfamiliar with the Suzuki method.
After laying a solid foundation on instrument posture and position, I start prep work on Twinkle by teaching the rhythmic variation patterns on open strings. Pre-Twinkle songs and the A major scale help teach left-hand set-up and prepare for putting it all together.
The Twinkle Rhythms
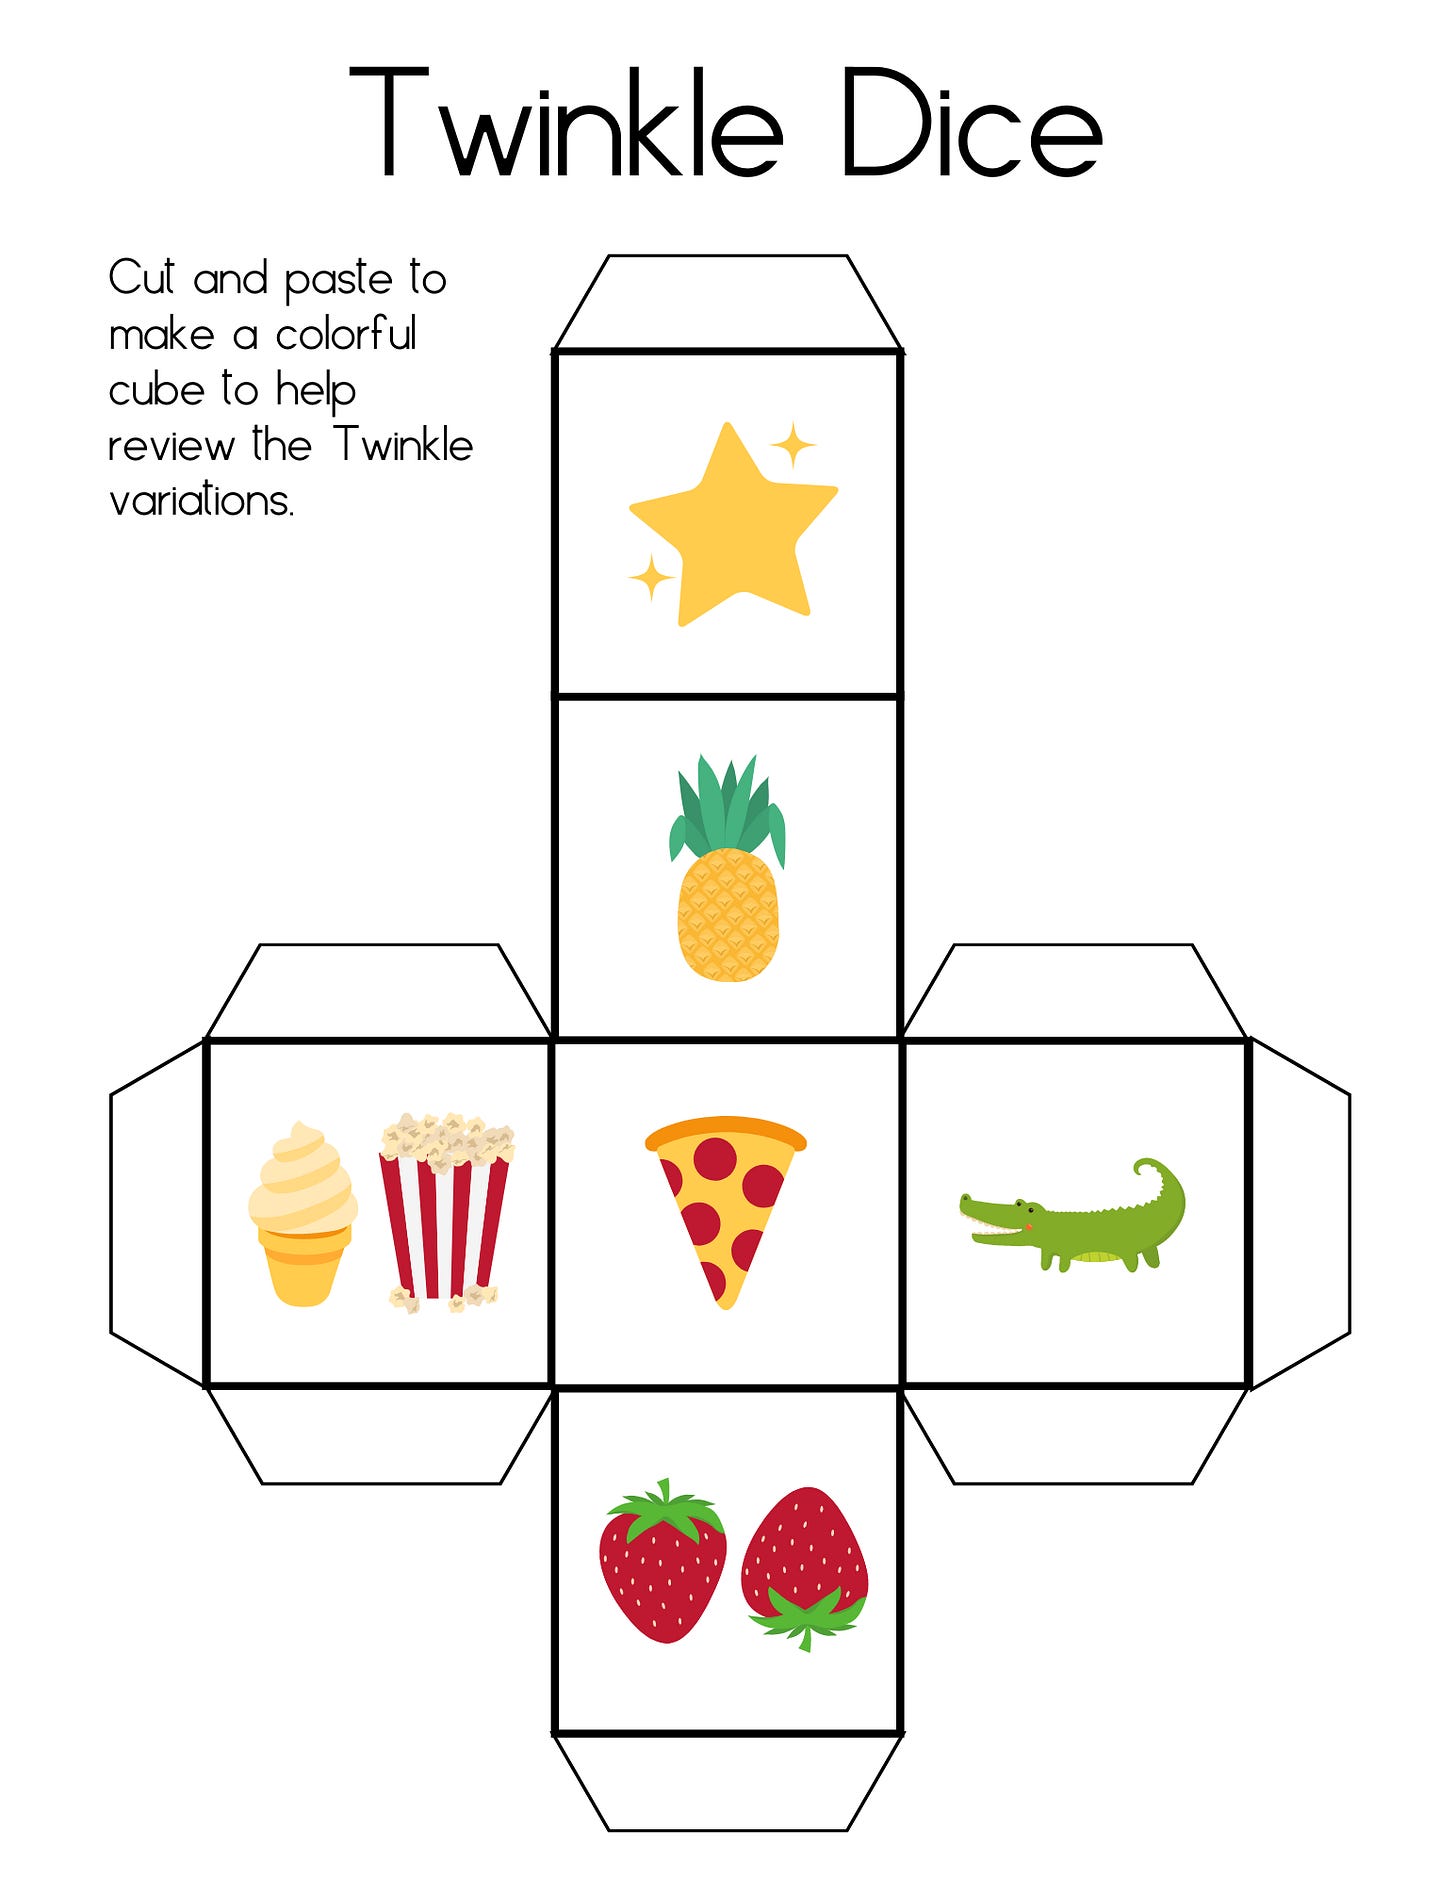
There are five Suzuki Twinkle variations, plus the Twinkle theme. These rhythms are taught by rote, often with rhythmic mnemonics to help reinforce the patterns. While these vary from teacher to teacher, in my studio, we use:
Pepperoni Pizza
Ice Cream and Popcorn
Down Berry Up Berry
Pineapple Pineapple
Teeny Tiny Alligator
I like to use Step By Step 1A to introduce each rhythm sequentially, first shadow-bowing, then on open strings, and finally using notes on the A string. Once the theme and variations are all learned, we review them often. We roll a large foam six-sided die, with numbers 1-5 standing for the variations and 6 for the theme, to decide which Twinkle to practice. I also have a large pocket die like this one I got at Target, and I put cards with drawings for each variation and theme on each side. You can download this Twinkle dice if you would like your own or would like for your students to have one for home practice:
The Twinkle Sandwich
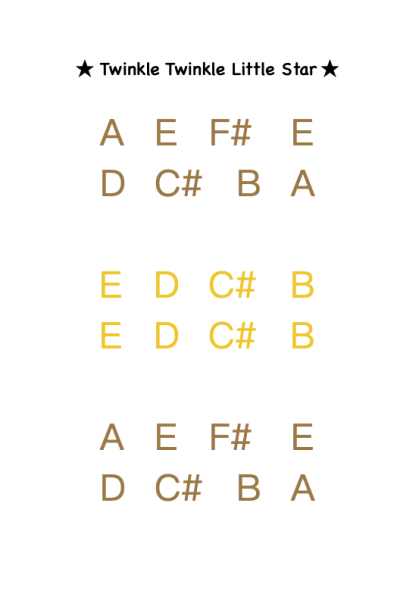
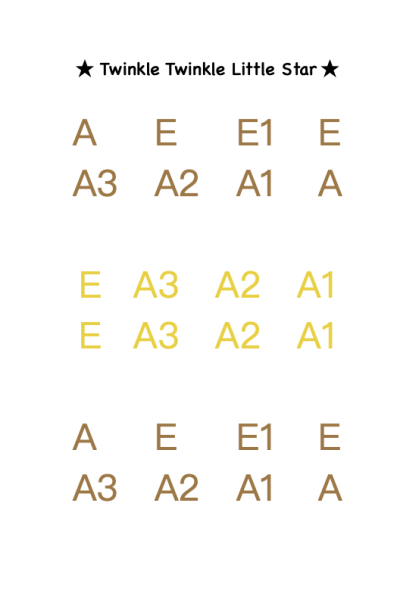
When teaching the notes of Twinkle, it can help students and parents to have a reference sheet for home practice. The goal is to learn Twinkle by memory, so understanding the “recipe” helps students memorize each section.
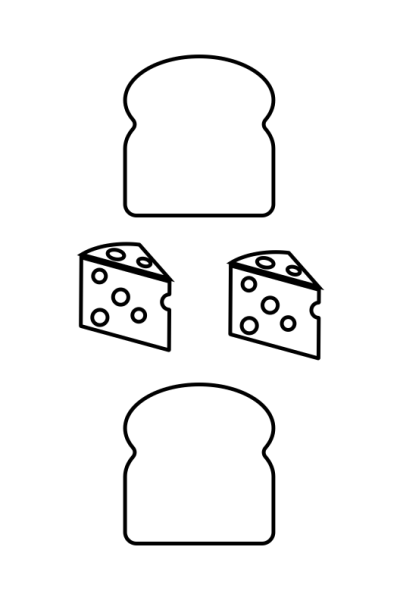
Mastery for Strings teaches Twinkle as a sandwich: bread - cheese - bread. This is an excellent introduction to ABA form. Here are a few examples of Twinkle Sandwich sheets I’ve used with my students. One uses note names; another uses finger numbers. I have them color-coded to represent the “ingredients” of bread and cheese. The last one is great for having students fill in the notes of Twinkle themselves. They can write in the pattern or use alphabet stickers like these I found on Amazon.
Other Twinkles
Besides the standard Suzuki Twinkles, I also teach my students the Twinkle variations from Mastery For Strings Level 1:
Practicing the first Twinkle variation at the frog, middle, and tip of the bow (using adorable bow markers like these to indicate the part of the bow we are staying in!)
Play each note of Twinkle once, lifting the bow after each pitch. This can be done both down and up bow.
Play each note of Twinkle once arco, then once pizzicato, both with the left and right hands.
Further rhythmic variations of Twinkle played both in unison and as a canon.
Reviewing Twinkles
In addition to the Twinkle dice, I have a Twinkle wheel on the Tiny Decisions app (a similar one you can bookmark linked here) I can spin for my online students when it’s time to review the Twinkles. I also like having students draw a card from this review deck that includes the rest of the Book 1 repertoire.
Another fun game we enjoy in my studio is Twinkle Fishing. In the past, I made a version with paper fish, paperclips, and a magnet on a string, but this past summer, I upgraded to this more sturdy plastic fishing game. I numbered each plastic fish with a permanent marker. After spreading out the fish and catching one, the student must perform the action called for the by fish’s number. I used the list of activities found in Games and Motivation for the Suzuki Violin Student by Diane Wagstaff.
Completing the Twinkle variations is a milestone for any student! We always celebrate in my studio with a ribbon and photograph. What Twinkle games, activities, or resources are working for your studio? Are you new to Twinkling? Comment your ideas or questions below or join the conversation on social media @myviolinclub.


